

Digital information boards
A complete guide, updated 2024-07-18

Updated 2024-07-18
In this guide, we go through everything required to install and configure a digital information board on your own.
If you follow this guide, it's probably both easier and cheaper than you think.
Content
Introduction
There is money to be saved
Digital information boards are a popular way of conveying information in several different industries.
One of the benefits of a digital information board is the ability to quickly and easily get new information out.
With a classic information board, the content must be printed and assembled by a person on site, which can be both time consuming and costly. With a digital information board, the information is easily updated online.
With a digital information board, it is often also possible to display automatic content such as time, date, weather, news and traffic information.
What's needed for a digital information board?
One could say that a digital information board consists of three parts:
- Hardware: A display with good brightness, ideally made to be able to run "24/7" (around the clock, every day of the week).
- Media player: A web browser or any other type of application that can display content. The media player is either built into the display, or externally connected (eg via HDMI).
- Content provider: An external party that provides a software to update the content displayed on the screen. The software for updating the content is sometimes called CMS (Content Management System). Some content providers are free (such as Apartema) and some cost money.

Media player
Two different types
There are mainly two different types of media players:
- A browser which displays a website in full screen mode.
- An app which downloads and updates the content.
For the sake of simplicity, we will from now on call the two different types of media players "web-based" and "app-based".
A media player can then be either built-in to the display or externally connected (eg via HDMI).
The "app-based" media players usually have better support for external hardware such as tag reader or card reader.
"App-based" media players are therefore quite common for displays used for e.g. booking or ordering, as they often use external hardware.

When it comes to pure information boards (which we focus on in this guide) however, there is no difference between "web-based" and "app-based" information boards.
Functional differences can of course occur between different content providers, but the two types of media players have the same ability to display content.
Lock-in
As usual with a purchase, you should consider whether you can accept a lock-in from a specific provider or not.
When it comes to content provider, the degree of lock-in largely depends on the type of media player being used.
The media players that are least dependent on content provider are the "web-based" ones.
Although "app-based" media players can in some cases work for several different content providers, they are often made for a specific content provider.
If you are going to use an "app-based" media player, it is therefore good if it is externally connected.
A display with a built-in "app-based" media player risks creating a very strong lock-in to a specific provider, as all displays then risk having to be replaced, if you wish to change content provider.
Our recommendation is therefore to either choose a "web-based" media player (built-in or external), or a externally connected "app-based" media player, so you can change content provider without having to change all displays.

Hardware
Public displays
Public display are specially made for use as digital information boards.
What mainly characterizes public displays is that they usually have a higher brightness, that they can be run "24/7" (around the clock, every day of the week) and that they often have smart energy saving functions such as light and motion sensor.
Public displays are manufactured in a variety of sizes and different designs by companies such as Samsung, LG and Philips.
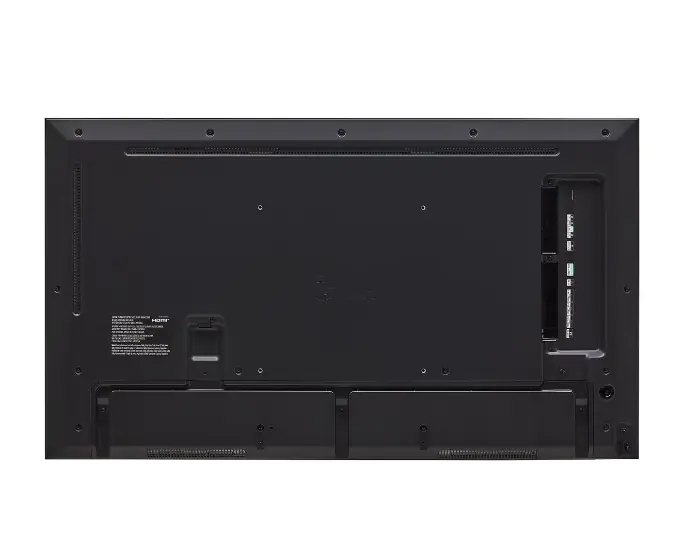
For a good "web-based" information board, we recommend the displays Samsung QM32C (32"), Samsung Crystal UHD Signage QMC (43") and LG 43UH5N-E (43").
Samsung QM32C (32")
Samsung QM32C (32")
Samsung QM32C (32")
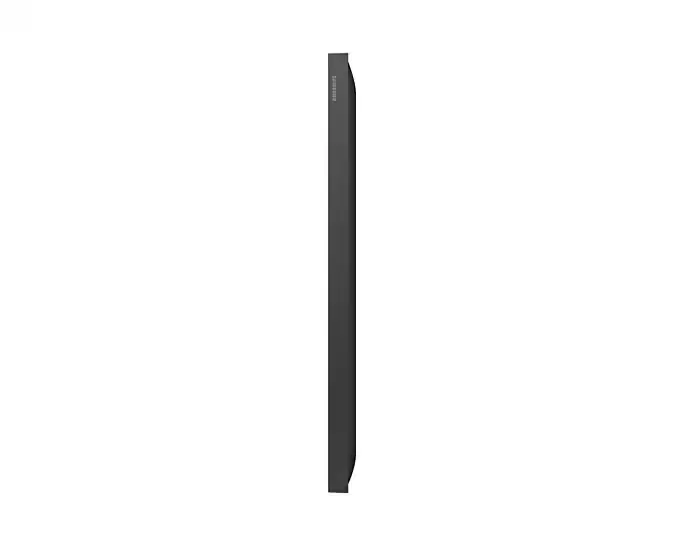
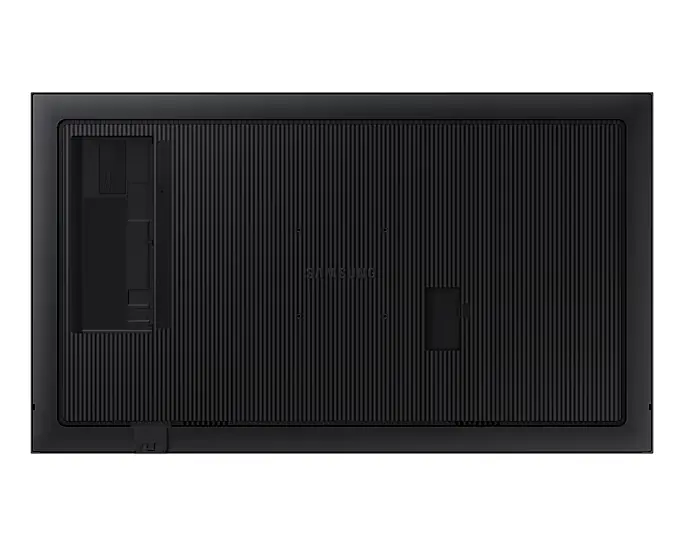
Samsung Crystal UHD Signage QMC (43")

Samsung Crystal UHD Signage QMC (43")
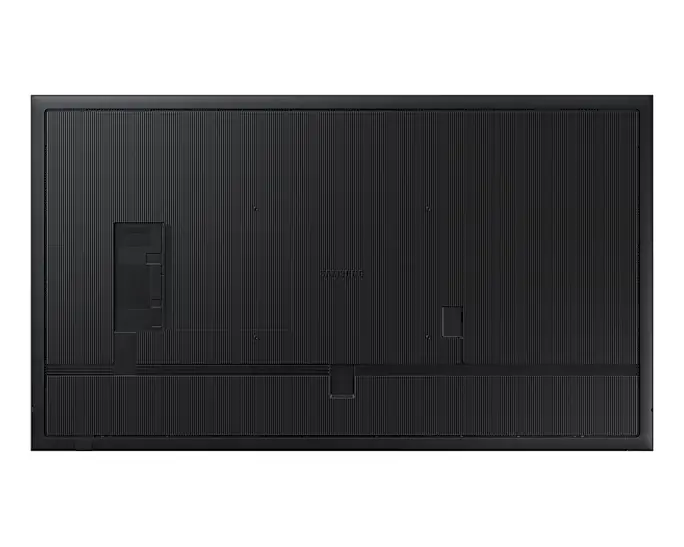
Samsung Crystal UHD Signage QMC (43")
LG 43UH5N-E (43")

LG 43UH5N-E (43")
LG 43UH5N-E (43")

Benefits of these displays
- They have a built-in browser with support for modern web technologies, which means that they have very good support for various content providers that use "web-based" media players.
- They have an HDMI input, for connecting external media players.
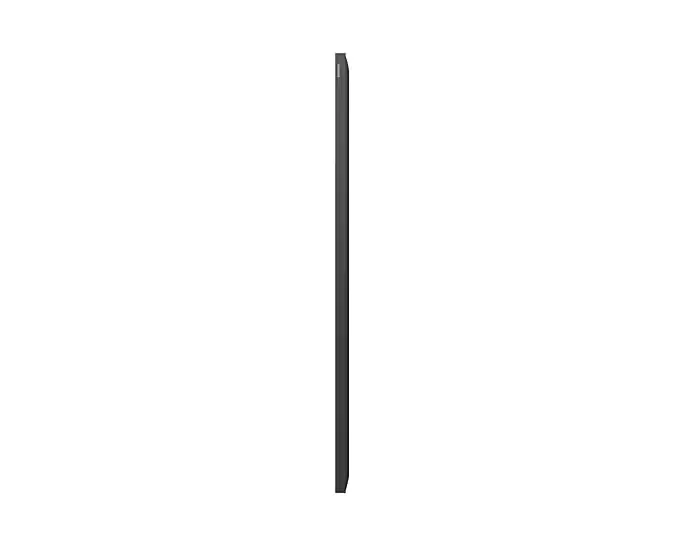
- They have a slim design. (Samsung: 2.85 cm deep. LG: 2.97 cm deep.)
- They starts quickly and have good performance.
- They have several smart energy saving features (including light and motion sensor, which adjusts the screen brightness automatically).
- They are made to be able to run "24/7" (around the clock, every day of the week).
A search at Prisjakt.nu


Mounting
Wall mounting a display is like wall mounting a TV
If you can't or don't want to carry out the installation yourself, any craftsman (preferably an electrician) can help you with it.
For the handy, this is however very simple, and if there is electricity nearby, it is possible to save a lot of money by carrying out the installation yourself.
There are several good guides on how to mount a TV on the wall (e.g. on YouTube), but in short, mounting goes as follows:
- Gather all the necessary equipment: you will need a wall mount, screws, a screwdriver, a level, cord cover, plug (which is suitable for the wall material) and possibly an impact drill.
- Determine the weight and size of your screen. Make sure that the wall mount you have chosen is appropriate and can support the weight and size of your screen.
- Hold the wall mount up to the wall and mark the position of the holes on the mount onto the wall. Use a level to ensure that the mount is straight.
-
If it is a concrete, brick or plaster wall, you need to drill a hole in the wall at the marked points and put a plug in each hole (which is intended for the type of wall). If it is a wooden wall, you do not need to drill or insert plugs.
- Attach the wall mount to the wall using the screws. Use a level to ensure that the mount is straight.
- Attach the screen to the wall mount according to the instructions provided with the mount.
- Connect the screen and run the power cable as desired using a cord cover.
Framing and protection
As a simple theft protection, it is possible to lock the display with safety screw which requires special tools.

If you want to protect the screen extra against e.g. vandalism, or just frame it a little nicer, there are different frames and covers to buy.
There are several companies, among others HI-ND, which manufactures different types of frames and covers in different sizes and colors for information boards from e.g. Samsung, LG and Philips.
The frames / covers are sold through retailers, such as e.g. Proshop.

Configuration
Network & internet connection
Digital information boards are usually connected to the internet and therefore require an internet connection.
If you do not already have an existing network with an internet connection, most mobile operators have cheap mobile broadband that is suitable for so-called IoT devices (Internet of Things).
These subscriptions usually include a smaller amount of data than "regular" subscriptions, but they often also have a lower price.
Ask the content provider how much data per month is recommended for their service.
(For Apartema's information boards, we recommend 0.2 GB of data per display.)
To create a wireless network (WiFi) that the monitor can connect to, you need a wireless router (with a 4G modem if you use mobile broadband).
Connect an information board to Samsung QM32C
The instructions below should also work for Samsung's other public displays with a model name beginning with the letter "Q".
- Power on the display.
-
Connect the monitor to the internet, either with network cable or via WiFi.
To connect via WiFi, press "Menu" on the remote control. Then select "Network" in the menu that appears on the screen and then "Open network settings". Then follow the on-screen wizard.

- Click "Source" on the remote control.
- A list of different sources is displayed. Go to "Web Browser" using "left arrow" or "right arrow" (but DO NOT click on "Web Browser" yet).
- When "Web Browser" is highlighted, press the "up arrow".
-
The "Settings" option is now displayed above "Web Browser". Click on "Settings" (with the button in the middle, between the different "arrow buttons").

-
Make sure "Start page" is set to "Personal" and that "Personal" is then set to the URL (web page) you want the display to show. You get the URL from the provider of the information board.
If you use Apartema's information board, the URL will be displayed in the admin interface. - Click "Close" (settings are saved automatically).
- Now click on "Web Browser". The display should now show the digital information board.
- Use the arrows on the remote control to move the mouse pointer up to the right corner, where you will find a "zoom level" slider. We recommend that you set the zoom level to 100% (by default it is set to 125%). You of course freely choose which zoom level you prefer.
- Menu bar and mouse pointer are automatically hidden after a few seconds of inactivity.
- Done! The display automatically uses the last used source when it starts (which is the browser, unless you manually change it to another source).